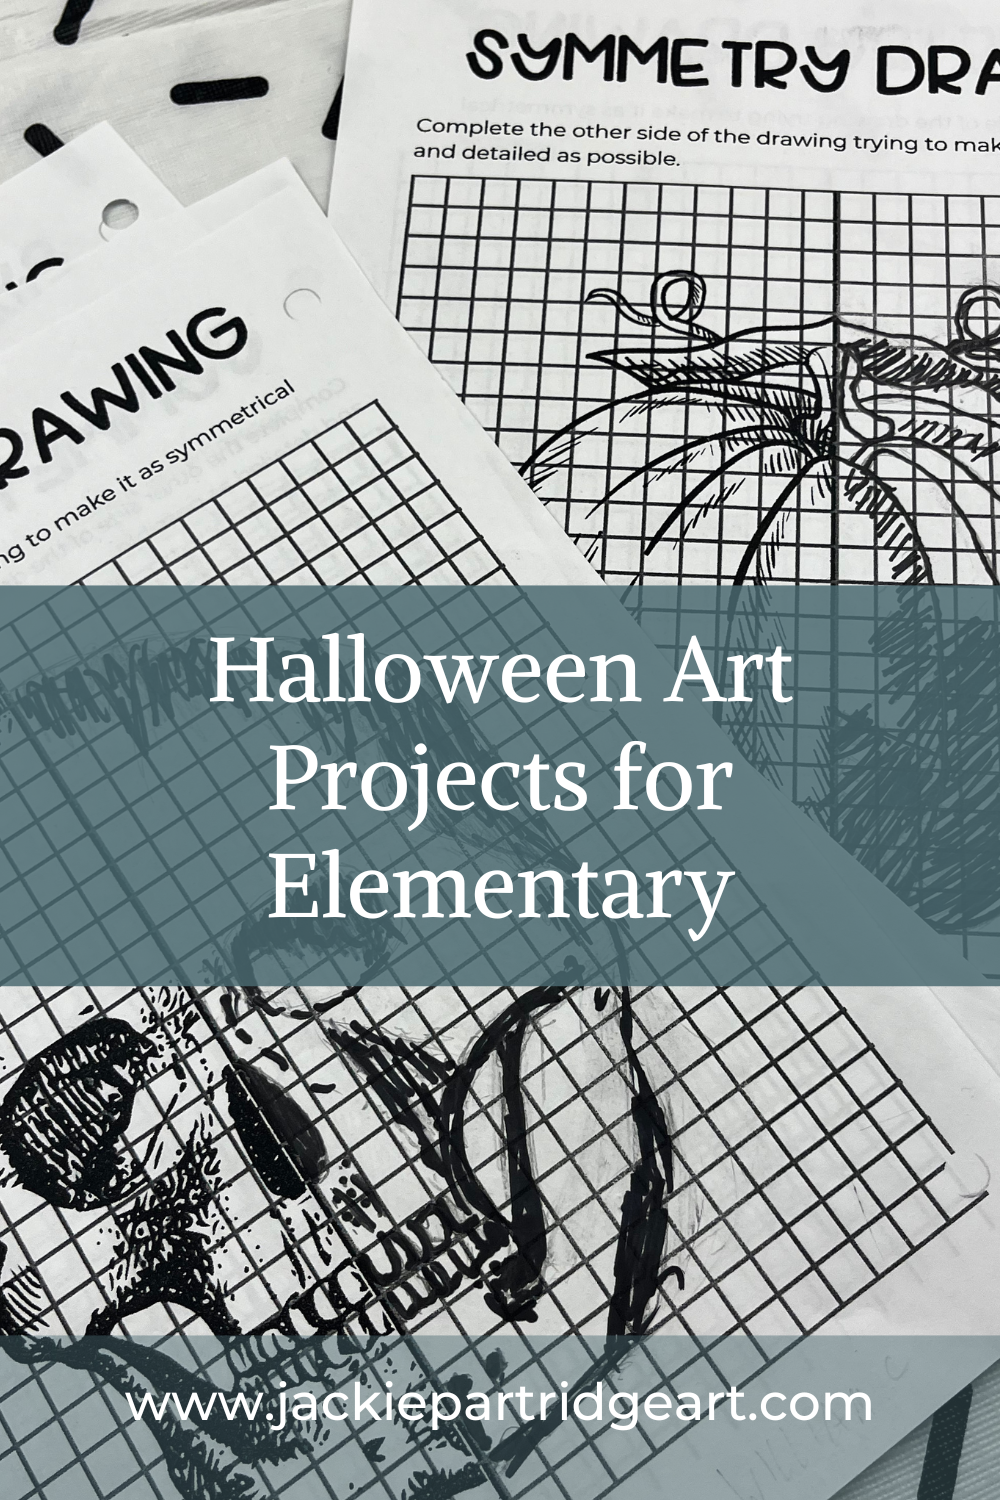
How to Paint a Pumpkin
Learn how to paint a pumpkin this Halloween pumpkin painting tutorial is perfect for kids ages 7 and older. If you are an art teacher, or a homeschool parent, you can teach your students or kids how to paint a pumpkin. This fun and easy acrylic painting tutorial is perfect for kids who have never painted with acrylics before to learn more about how to paint a pumpkin, keep reading below.
How to Paint Pumpkin

Easy Pumpkin Painting Tutorial for Kids (Ages 7+)
Looking for a simple, fun fall or Halloween painting activity for young children? This pumpkin painting tutorial is perfect for beginner painters with little to no experience. It’s quick to complete, requires only a few materials, and offers lots of creative flexibility. Whether you’re a teacher, homeschool parent, or just want a cozy weekend craft, this painting can be adapted for a variety of ages and materials.
Recommended for ages 7 and up, this is a great first-time acrylic painting project.
To watch the acrylic painting tutorial you can click on the video below. Please subscribe to my acrylic painting YouTube channel to see new tutorials that are released.
Materials Needed for Pumpkin Painting
Watercolour paper (9" x 12”)
Acrylic paint -red, yellow, blue, black, and white (or tempera or watercolour paints as alternatives)
Palette for mixing paint
Flat brush (~1" wide) for pumpkin
Round brush (size 6) for outlines and small round brush for details
Small detail brush for spider and web
Cup of water
Cloth rag for cleaning brushes
Protective table covering
Apron or old clothes
Paint Colours Used
Titanium white
Mars black
Primary red
Primary yellow
Cobalt blue
(Optional but not required for this project: raw umber, ultramarine, permanent green light)
How to Paint a Pumpkin Painting Instructions
Step 1: Paint the Background
Mix titanium white with a touch of mars black to create a light grey.
Using your large flat brush, paint the entire background with this grey mixture.
If using watercolour paint, be sure to leave a white space where your pumpkin will go, since watercolours won’t layer well over grey.
Let the background fully dry before moving on.
Step 2: Sketch or Block in the Pumpkin
You can draw your pumpkin first using chalk, trace around a plate, or freehand paint it directly.
Mix primary red and primary yellow to create orange.
Use your medium flat brush to paint in a large, rounded pumpkin shape.
Keep your brushstrokes curved to suggest the natural shape of a pumpkin.
Step 3: Add Shading and Highlights
Mix a darker orange by combining red, yellow, and a tiny bit of blue.
Use this darker orange to paint ridges or curved lines along the pumpkin’s surface.
To lighten areas, mix a little white with your orange and gently feather in highlights near the top of the pumpkin.
Adjust as needed to balance light and shadow.
Step 4: Paint the Stem
Mix blue and yellow to create green, or use pre-mixed green if you prefer.
For a darker green, add a small amount of black.
Paint a curved stem shape—like a sideways rainbow—at the top of the pumpkin.
Add some shading to one side of the stem using the darker green mixture.
Step 5: Add a Web and Spider (Optional)
Use your smallest detail brush or a fine marker.
Paint or draw curved lines extending outward from the top of the pumpkin.
Connect them with curved, scalloped lines to form a spider web pattern.
For the spider, paint a thin line down from the web.
Add a small circle for the head and a larger oval for the body.
Paint eight legs (four on each side) in simple curved lines or “mountain” shapes.

Finishing Touches
Let your painting dry completely. If you're using watercolour paper, flatten the painting under a stack of books if needed. You can also display it right away for a seasonal art wall, gift, or classroom bulletin board.
Conclusion:
This pumpkin painting is a perfect project for fall or Halloween, whether you're working in a classroom, homeschool setting, or doing a weekend craft. It encourages creativity while teaching young artists about brush control, colour mixing, and layering.
If you enjoyed this tutorial, be sure to check out more art lessons and ideas at jackiepartridgeart.com, where new paintings and resources are shared every week.
Click on the button below to subscribe to my acrylic painting YouTube channel.