Grid Drawing in the Classroom and Homeschool: A No-Prep Lesson for High School Art
If you teach high school art — whether in a traditional classroom or a homeschool setting — you know how hard it can be to find a lesson that checks every box at once. Grid drawing is a great way to teach real, transferable skills. It needs to hold a teenager's attention. It needs to produce results they're actually proud of. And ideally, it needs to work without hours of preparation on your part.
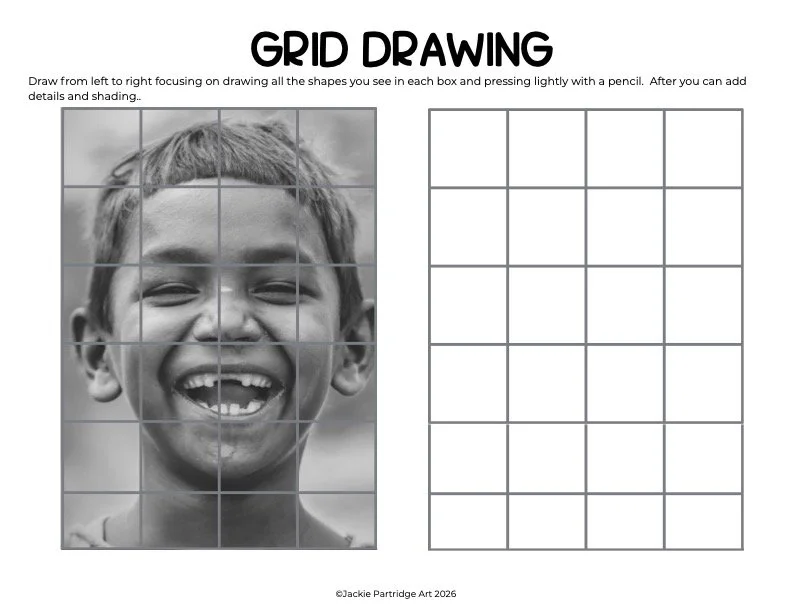
Grid Drawing
Grid drawing does all of that. It is one of the most effective and underused techniques in the secondary art classroom, and once you introduce it, your students will likely return to it again and again as a tool in their own practice.
This post covers everything you need to know to bring grid drawing into your classroom or homeschool: what it is, why it works so well for high school students, how to teach it step by step, and why it pairs beautifully with shading, value, and portrait work.
What Is Grid Drawing?
Grid drawing is a technique that uses a grid — a series of evenly spaced horizontal and vertical lines — to help an artist accurately transfer an image from a reference photo or drawing onto a larger surface.
The process works like this: a grid is drawn (or printed) over a reference image, dividing it into equal squares. A corresponding grid is then drawn lightly on the drawing paper. The artist works one square at a time, copying only what is inside each individual square rather than trying to see and reproduce the whole image at once.
The result is a drawing that is significantly more accurate in proportion and placement than most beginning or intermediate students are able to achieve freehand. And perhaps more importantly, it teaches students how to look — really look — at what is in front of them.
Artists have used versions of this technique for centuries. It is a legitimate, time-tested tool, not a shortcut.
Why Grid Drawing Works So Well for High School Students
Teenagers are at a stage where they are acutely aware of their own perceived ability. Many students arrive in a high school art class believing they simply cannot draw. They have decided this about themselves, often after a discouraging experience earlier in childhood, and it shapes how they engage with every lesson.
Grid drawing is quietly powerful in this context because it gives students a structure that makes realistic drawing genuinely achievable. The process removes the most overwhelming part of realistic drawing — proportion — by breaking the image into small, manageable sections. Instead of looking at an entire face and not knowing where to begin, a student looks at one small square and asks: what lines do I see in here?
This shift in focus produces results that surprise students. When they stand back and look at a finished grid drawing, many of them experience a confidence shift that changes how they feel about their ability as artists. That moment is worth everything.
Grid Drawing as Shading and Value Practice
Here is where grid drawing becomes particularly valuable at the high school level: it is not just a proportioning tool. When paired intentionally with a shading lesson, grid drawing becomes one of the best exercises available for teaching students to see and render a full range of values.
Realistic drawing depends almost entirely on understanding light and shadow. Students who learn to replicate a full value scale — from the lightest highlights to the deepest shadows — are the students who begin to draw convincingly. Grid drawing creates the perfect structure for this work because it slows the student down. Working square by square, they cannot rush. They are forced to study each section carefully, which means they naturally begin to notice the subtle shifts in value that define three-dimensional form.
A strong pairing for this lesson is to introduce the value scale before students begin their grid drawing. Have them practise creating a nine-step or ten-step scale from white to black using pencil, blending their marks smoothly from one end to the other. Then, as they work through their grid drawing, encourage them to refer back to the scale and ask themselves: where does this area fall on my value scale? Is this shadow lighter or darker than the one beside it?
This approach produces drawings with genuine depth and dimension — and it teaches students a way of seeing that they carry into all of their future work.
Grid Drawing for Portraits and Facial Features
Portrait drawing is consistently one of the most requested topics at the high school level. Students want to draw faces. They are also frequently the most frustrated by it, because the proportions of the human face are subtle and specific in ways that are difficult to see without training.
Grid drawing is an ideal entry point for portrait work. Because the grid manages proportion for the student, they are free to focus their attention on the elements that make portrait drawing interesting and challenging: the specific curve of a lip, the way light falls across a cheekbone, the soft gradation of tone around the eye socket.
Facial features make excellent standalone grid drawing projects as well. A close-up of a single eye, a pair of lips, or a nose can be drawn as a focused study — a smaller, more achievable project that builds the skills needed before tackling a full portrait. These close-up studies are particularly effective for teaching shading because the areas of light and shadow are large and clear on a magnified single feature.
For homeschool families, portrait grid drawings make meaningful, beautiful finished pieces. They are also excellent for demonstrating academic rigour in art — the process involves observation, measurement, spatial reasoning, and technical skill.
No-Prep Grid Drawing: How It Works
One of the most practical things about grid drawing as a classroom lesson is that it requires very little preparation. If you have access to a printer, you can print grid overlays directly onto a reference photo. If not, students can draw their own grids using a ruler and pencil on a printed or photocopied reference image.
All you need to run this lesson:
A printed copy of the grid drawing worksheet
A pencil
Eraser
No special materials, no complex set-up. The lesson teaches itself through the process.
For high school classrooms where every minute counts, a no-prep lesson that still delivers strong learning outcomes and a finished product is genuinely valuable. You can introduce the concept in one class period and spend the remaining sessions working alongside your students, discussing their observations, asking questions about value and form, and helping them develop their eye.
How to Teach Grid Drawing Step by Step
Here is a simple sequence for introducing grid drawing to your students.
Start by showing students examples of finished grid drawings so they understand what the process can produce. Seeing the outcome before beginning helps students commit to the process.
Next, have students select a reference image. For a first grid drawing, a clear photograph with strong contrast — good areas of light and dark — works best. Portrait photos, animal close-ups, and architectural images all work well.
Show students how to divide their reference image into a grid. For beginners, a one-inch grid over a standard 8x10 reference image is a manageable starting point. Each square on the reference corresponds to a square on the drawing paper. If students want to scale up, they simply make the squares on their drawing paper larger — two inches for every one inch on the reference, for example.
Have students draw their grid lightly on their drawing paper with pencil and ruler. Emphasise that these lines will be erased later and should be drawn very lightly.
Then, square by square, students begin drawing what they see. Encourage them not to name what they are drawing — not "I am drawing an eye" — but simply to draw the lines and shapes they see within each individual square. This is a critical shift in thinking that many students find transformative.
Once the line drawing is complete and proportions are checked, students erase the grid lines and move into the shading phase, using what they know about the value scale to bring light and shadow into the drawing.
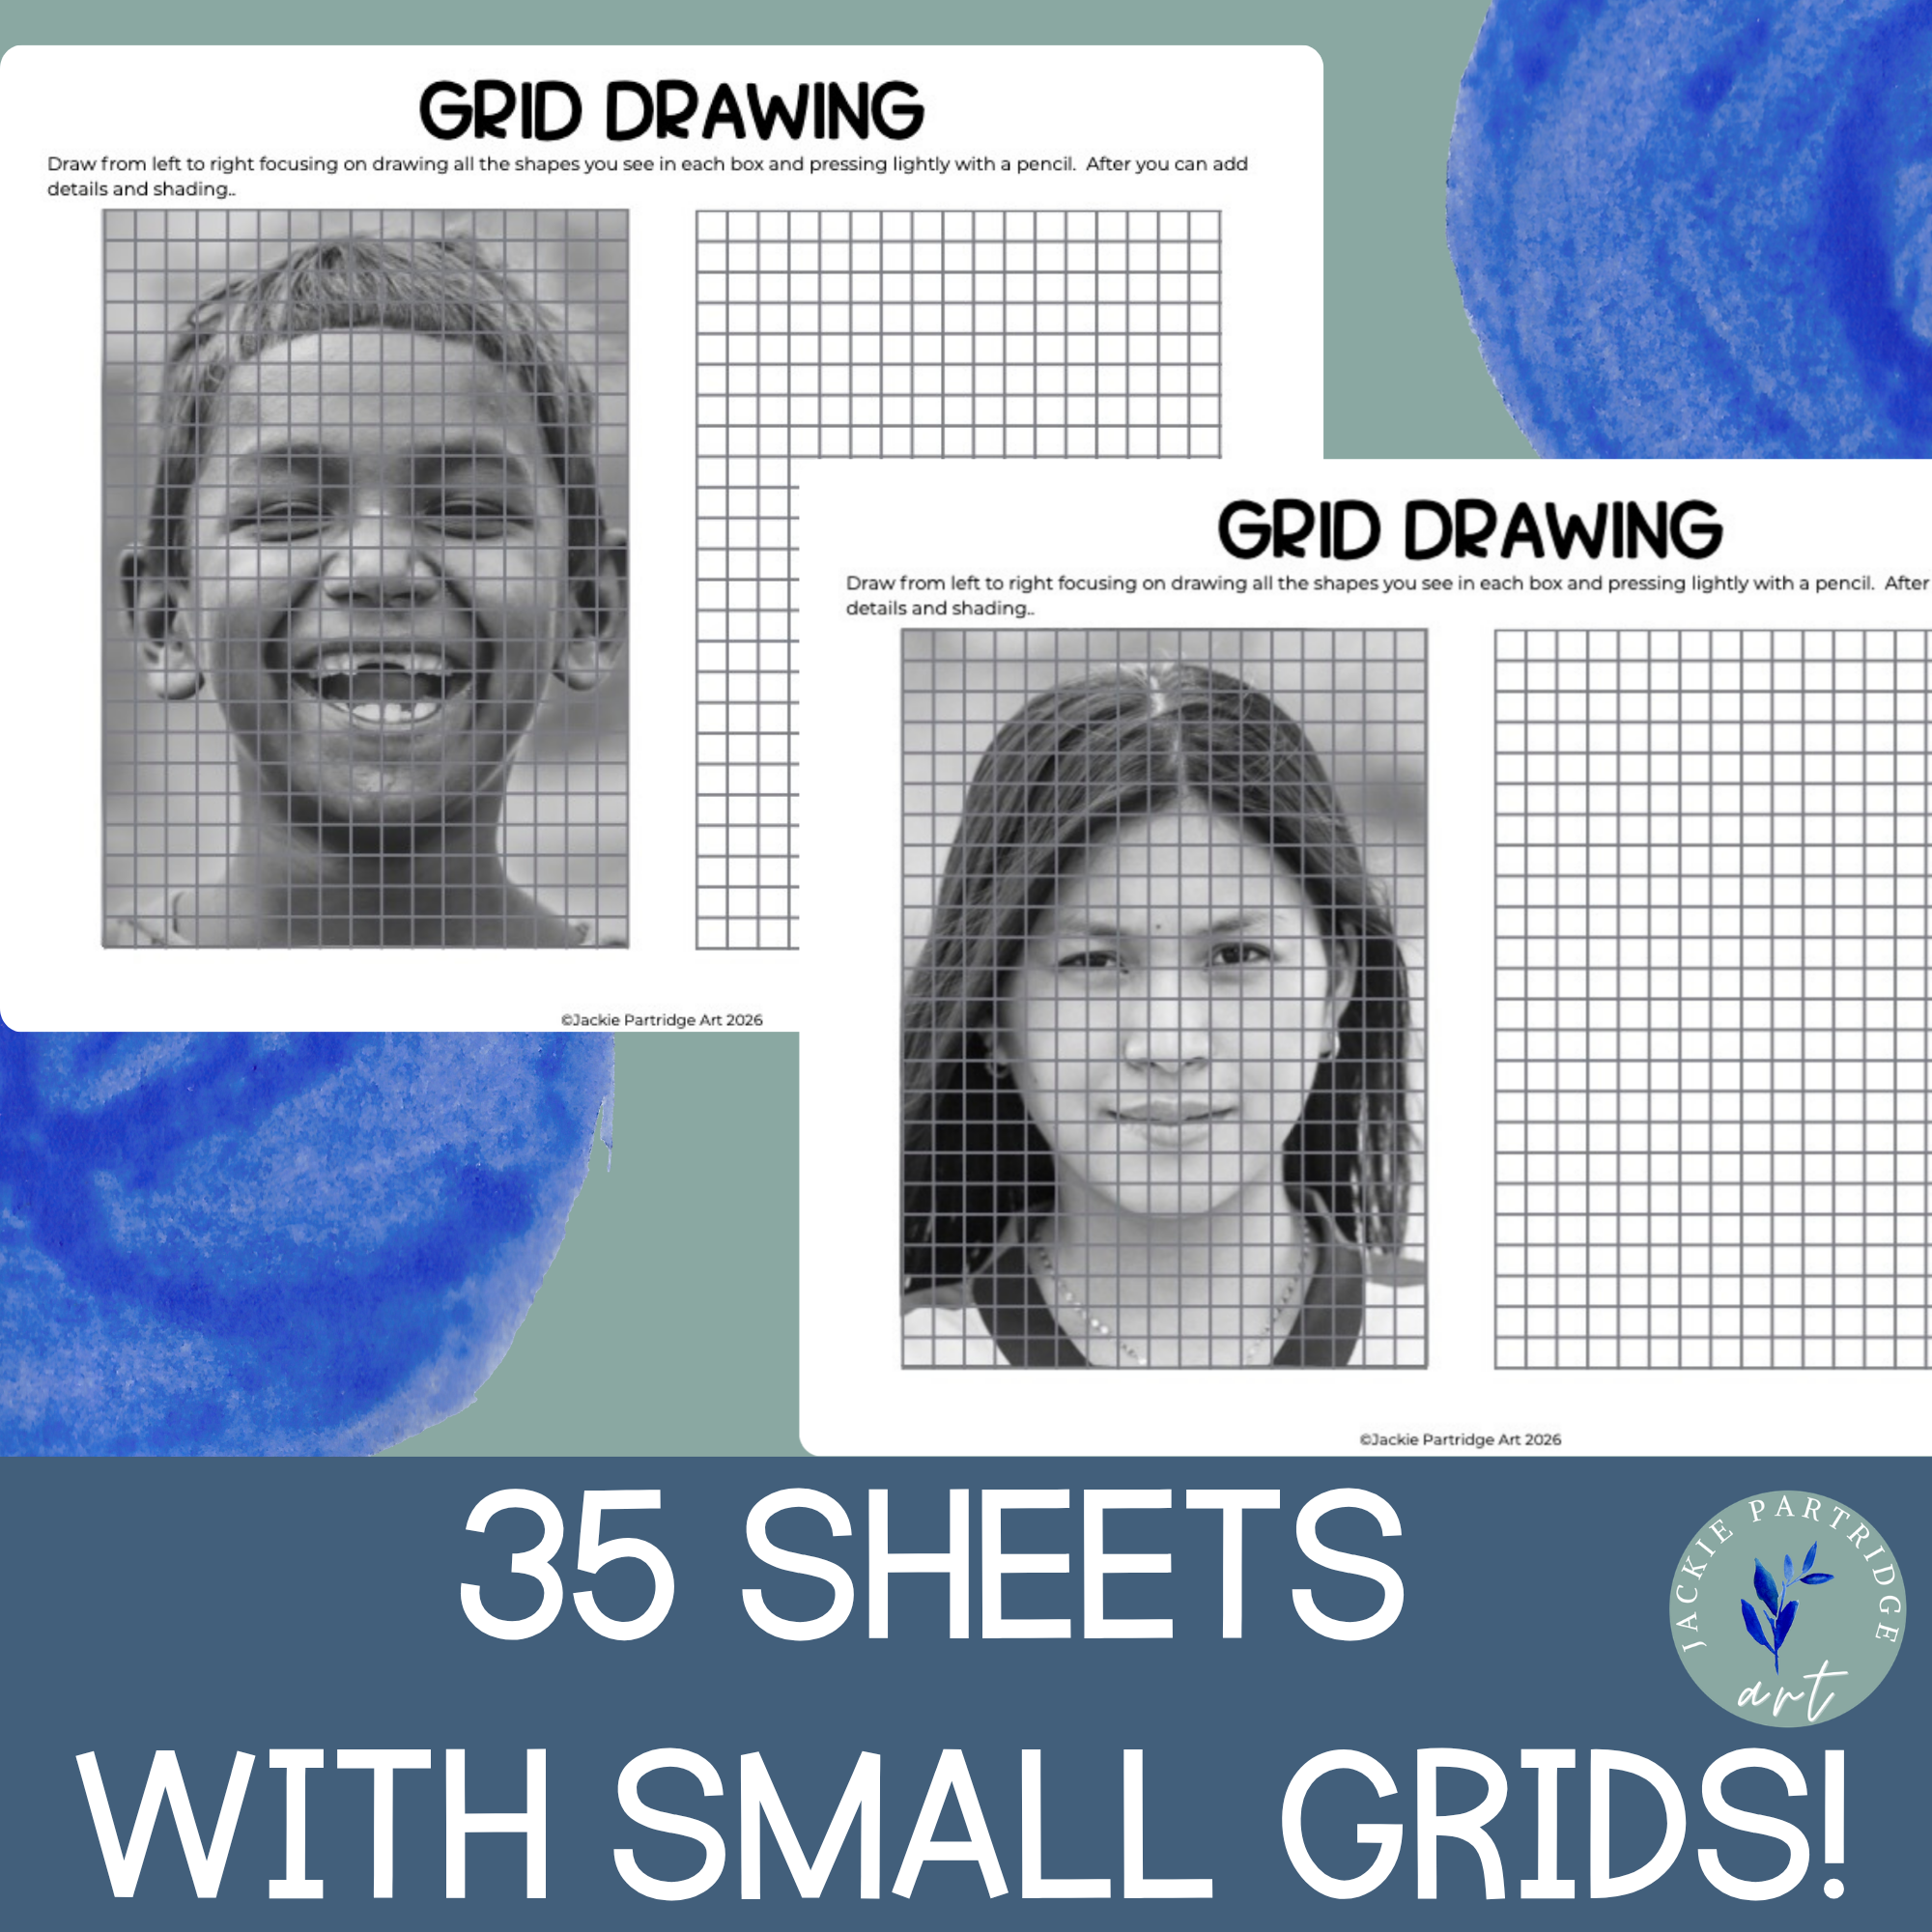
Alternatively, you can use some of grid drawing worksheets as supplement - great for sub plans or early finishers!
Questions Students Often Ask
Several questions come up consistently when introducing grid drawing at the high school level.
Is grid drawing cheating? This is worth addressing directly with your students. Grid drawing is a technique, the same way perspective drawing is a technique or watercolour wet-on-wet is a technique. It is a tool that artists have used for centuries to achieve accurate proportions. The skill is still entirely in the student's hands — the grid does not shade, blend, or make marks for them. What it does is help them see.
Does this mean I never have to learn freehand drawing? Not quite. Grid drawing builds observational skills that directly improve freehand drawing over time. Students who practise grid drawing regularly begin to see proportion more accurately even without the grid. The two approaches strengthen each other.
How large should my grid squares be? Smaller squares produce more accuracy but require more time and patience. For beginners, larger squares (one to two inches) are a better starting point. As students become more confident, they can work with smaller squares for greater detail.
Conclusion:
Grid drawing is one of those techniques that art teachers sometimes hesitate to introduce because it feels almost too helpful — too structured for a subject that values freedom and expression. But at the high school level, where students are actively working to develop realistic drawing skills and where confidence is fragile, giving them a tool that produces genuinely excellent results is one of the most encouraging things you can do.
The students who learn to draw realistically through structured techniques like this are the students who go on to draw freely and expressively with real confidence, because they know they have the foundation beneath them.
If you are looking for a no-prep lesson that teaches value, shading, proportion, and observational drawing all at once — this is it.
Related Articles:
Looking for something fun for your creative teen to do?
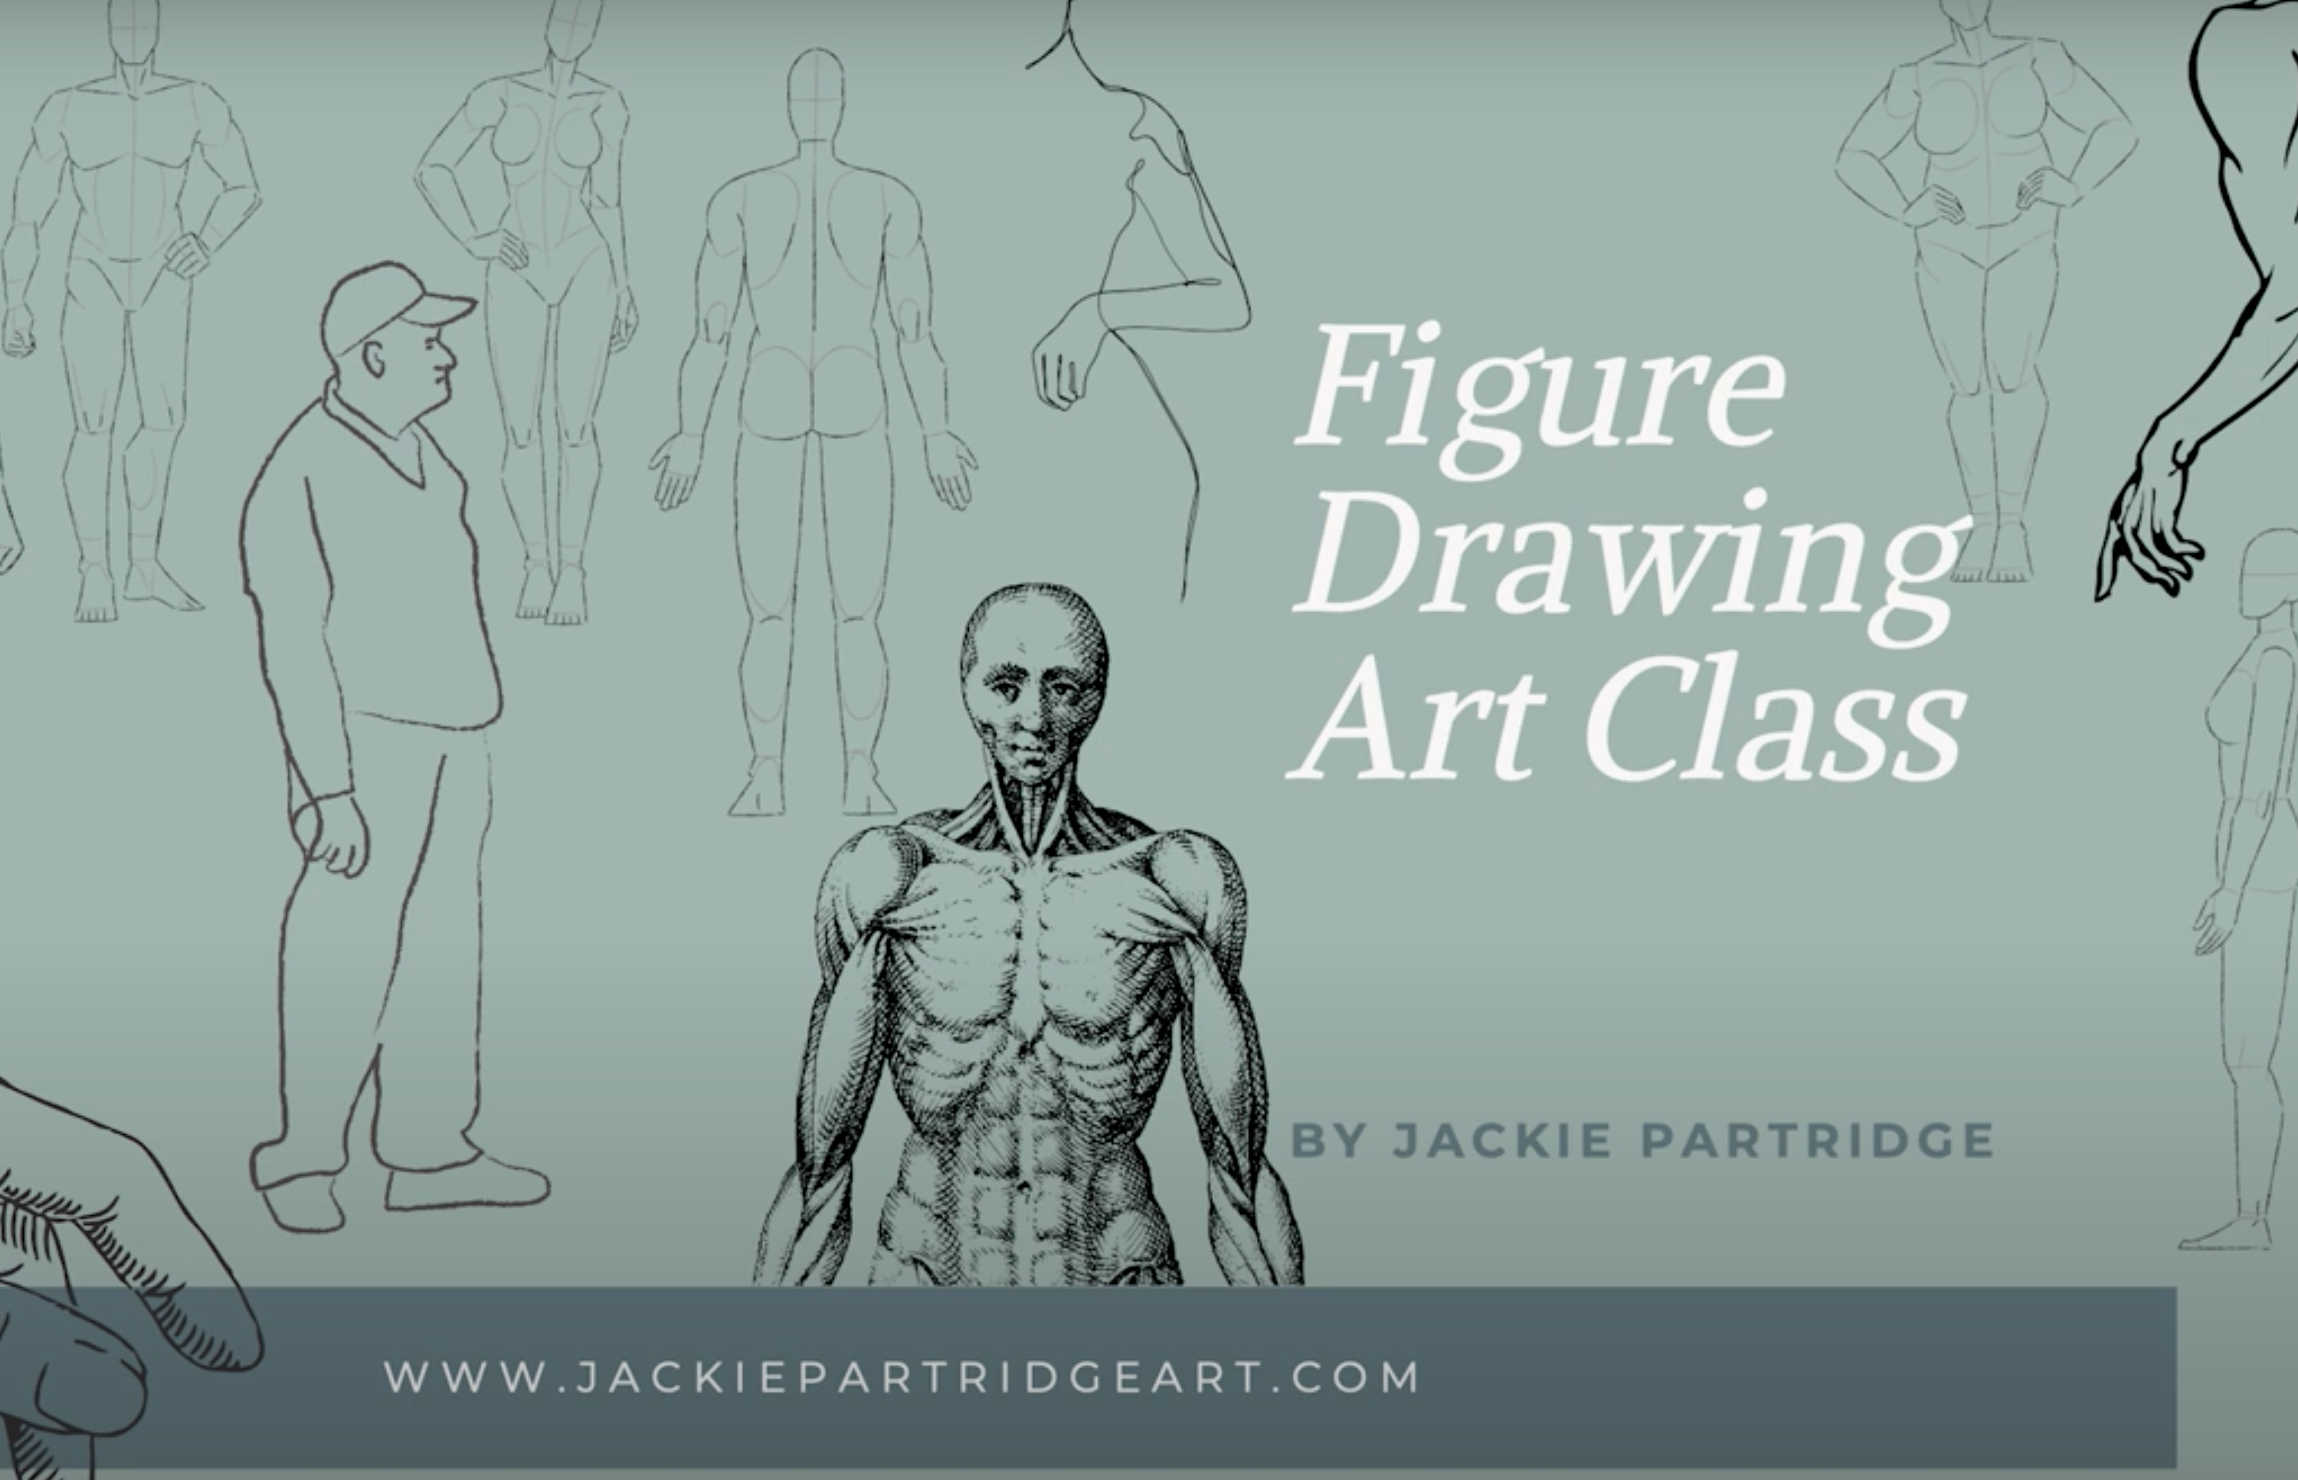
Join me (Jackie- artist and teacher) to learn about figure drawing.
In this hour and a half long recorded class, students will learn about different types of figure drawing like gesture drawing and drawing the human figure in movement. Students will also learn about the proportions to be able to draw people accurately and realistically.
Students will be exposed to different artists that incorporate figure drawing both from history as well as the contemporary artists. Students will have a fun time at the end of class to practicing figure drawing techniques. These are great skills for students interested in painting, drawing or digital drawing.
PLEASE NOTE THERE IS SOME NUDITY IN ART EXAMPLES AND PHOTOGRAPHS SHOWN. (No private parts)
Bonus: this class is perfect for teens wanting to go to art school as they will be able to create an amazing work for their portfolio!
Class is great for teens 12-17 years old.
Teens can watch the recorded class -whenever and as much as they would like!
Just click Purchase and enter in your payment Info.
You will receive a PDF with a link to the class after purchase.
Then your teen can watch the class whenever they would like to!
You can pay with PayPal or Stripe (credit cards) Tax is included in the price!
$35 CAD is about $25 USD
Materials Needed:
Just paper, a pencil and an eraser - if your child would like to use other materials they can!
If your child has access to charcoal or pastels that is great but this is optional.