
7 Outside Painting Tips for You to Try!
Are you looking for some outside painting tips and wanting to try acrylic painting in your backyard? Painting outdoors is a wonderful way to connect with nature and develop your painting skills. Whether you're setting up in a park, your backyard, or a scenic lookout, acrylic paints can be a great medium for outdoor work. Here are some outside painting tips in this blog post to help you create better acrylic paintings outdoors!
They're fast-drying, vibrant, and versatile—but they do come with their own set of challenges outside the studio.
Outside Painting Tips
If you prefer to watch the video instead on YouTube, you can click to watch the video below. Be sure to subscribe to my acrylic, painting channel to see your new tutorials and tips videos.
how do i paint outside? What should i pack when painting outdoors?
Consider the Weather
Weather plays a huge role in outdoor painting. Acrylics dry quickly, and heat or wind will speed up the process even more—sometimes before you’re ready! On cooler, damp days, drying may take longer, which can work in your favour for blending.
Check the forecast before heading out and plan accordingly. A hat, sunscreen, bug spray, and even fingerless gloves (for chillier days) can make your painting session much more enjoyable. If you're painting in direct sun, try to find some shade to protect both your eyes and your canvas.
Bonus Tip
If you are having trouble with the paint drying too quickly and not allowing you to blend the colours you can try different extenders or mediums for acrylic paint (ask your local art supply store) or try Golden Open Acrylics.
Take a Photo of the Scene
Nature is always changing. The light, shadows, and even your subject may shift throughout the day. Taking a photo at the beginning allows you to lock in your reference point. If clouds roll in or the sun starts to set, you'll still have an image of what inspired you.
Photos also help if you want to revisit the painting later in your studio to refine it.
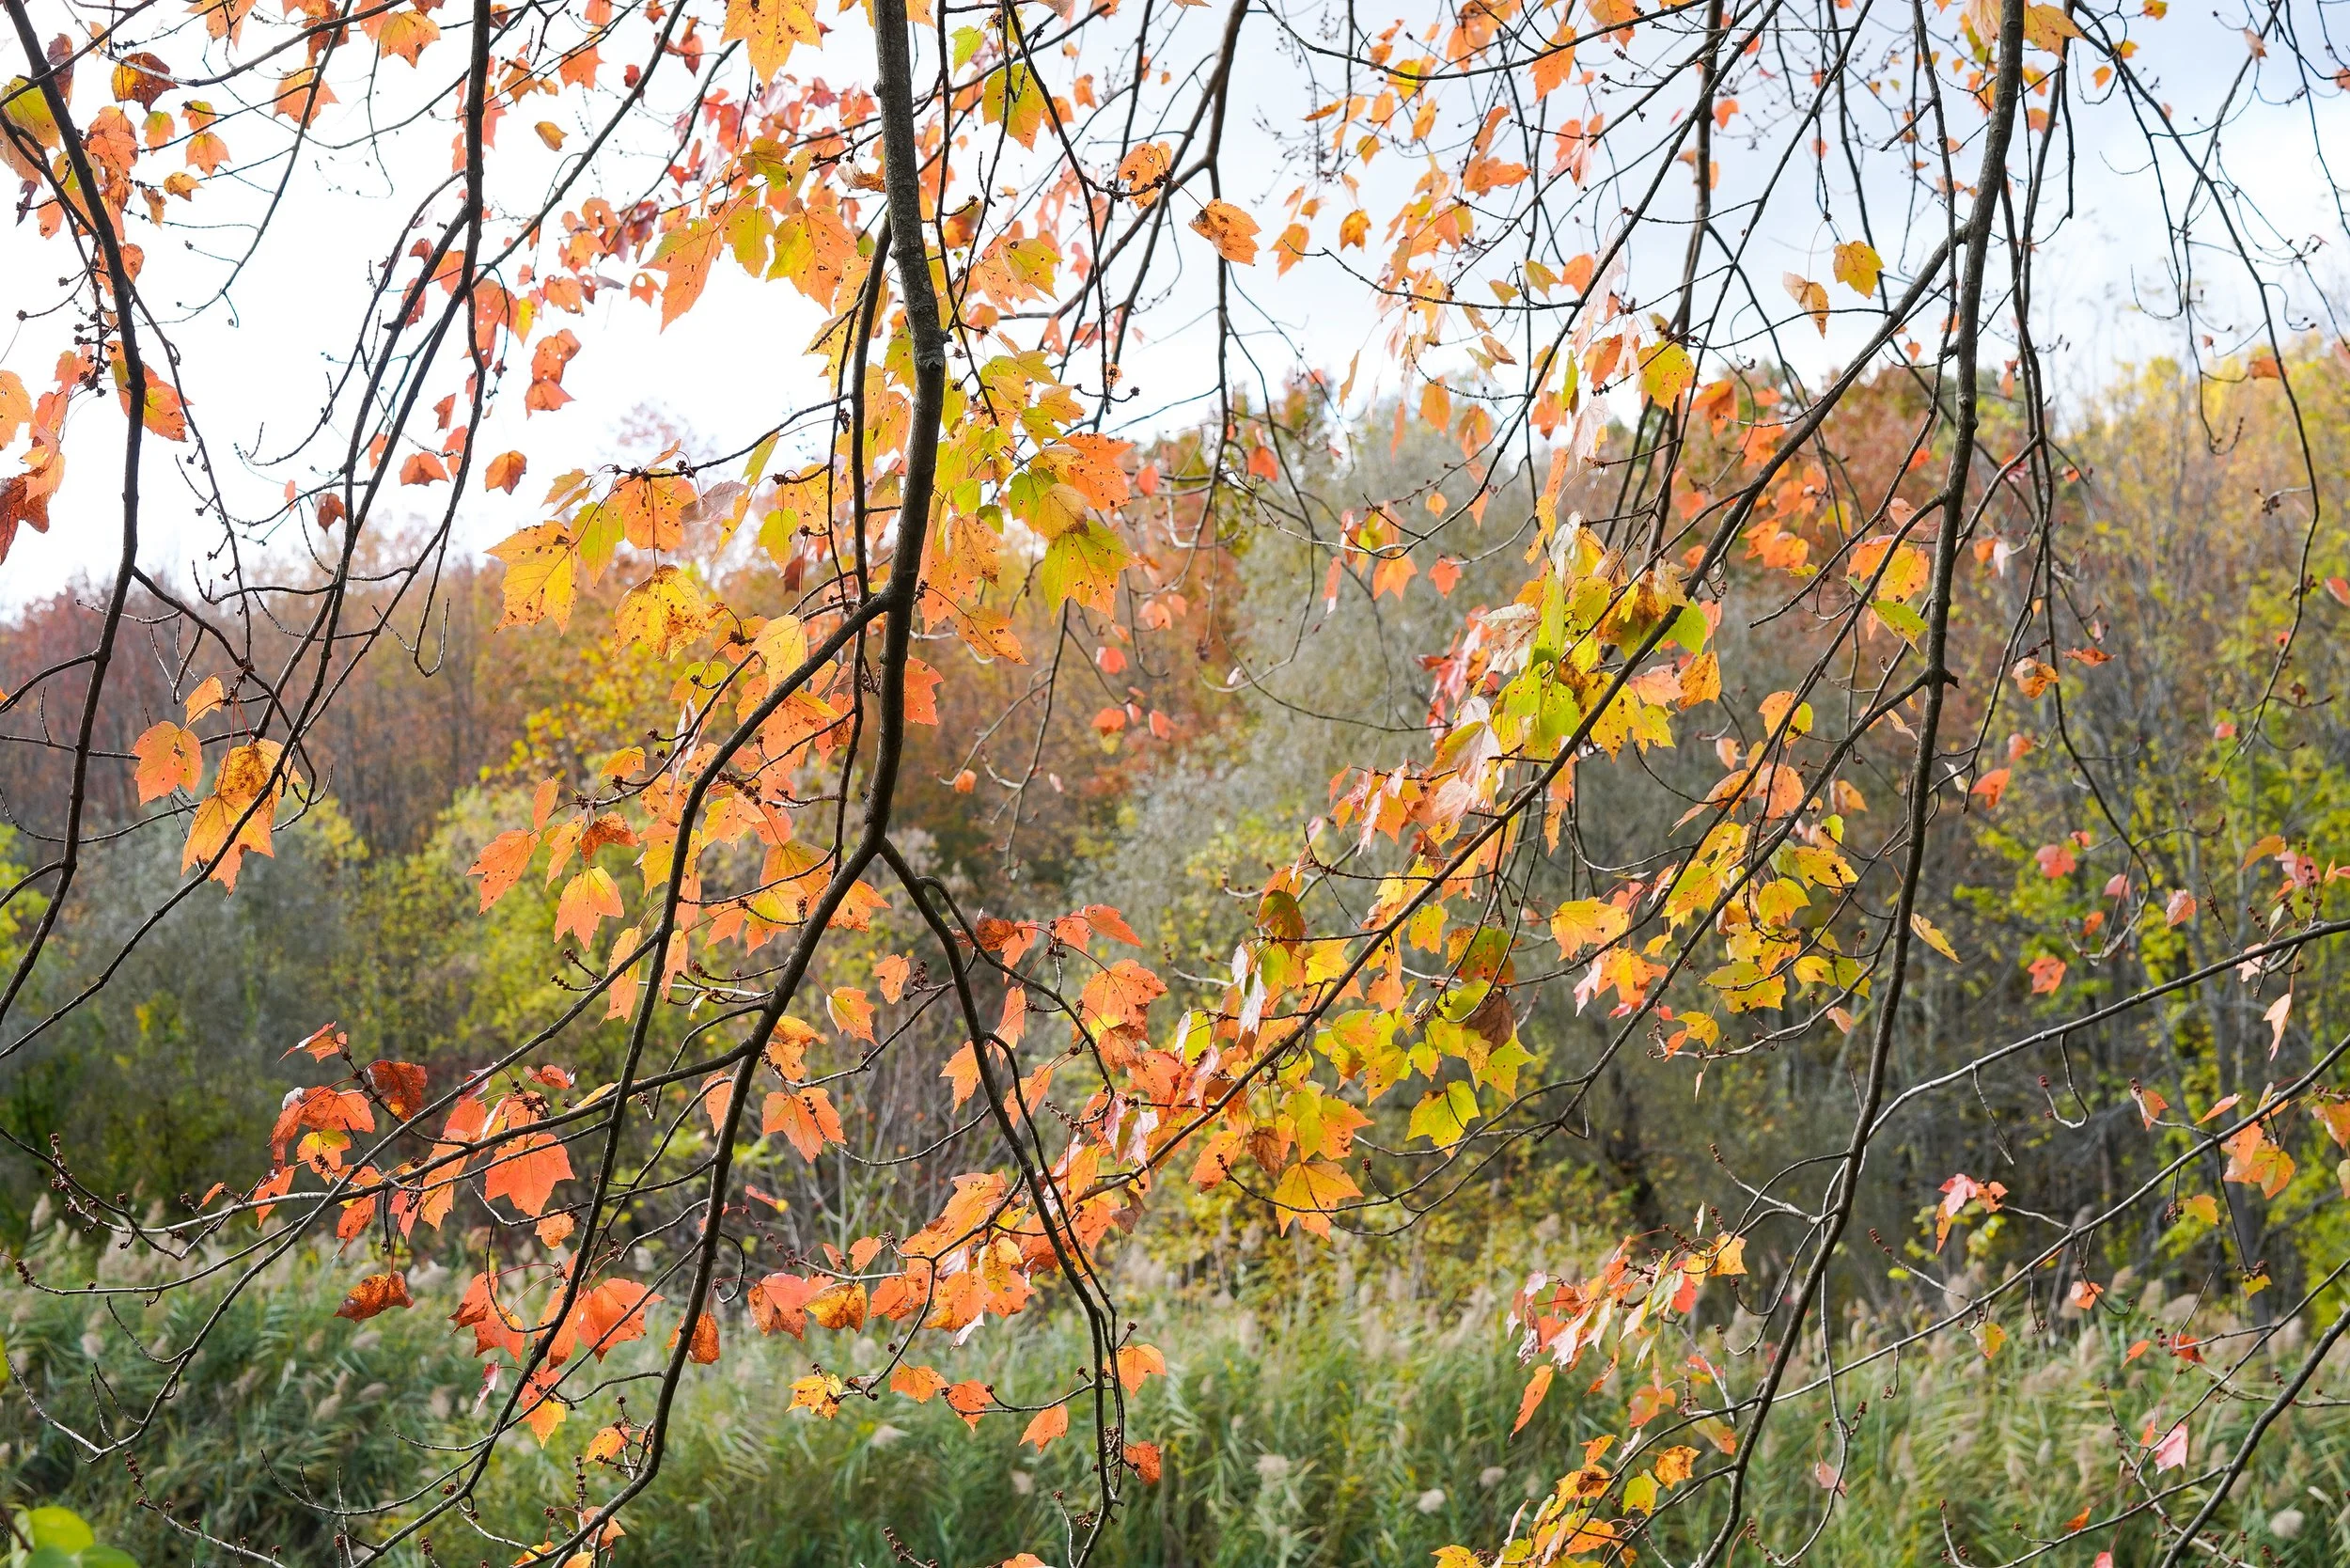
Let Nature Inspire You
One of the best parts of painting outside is that you're immersed in your subject. Listen to the birds, watch how the wind moves the trees, observe how the colours shift in natural light. Don't worry about capturing every detail exactly—focus on the feeling or essence of the place.
Sometimes a single flower, a winding path, or an unusual tree shape is enough to inspire a beautiful painting.
Draw What You’re Painting First
A quick sketch will help you get familiar with your subject. Use chalk or a thin brush to map out your composition before jumping into colour. This helps you get proportions, perspective, and placement right—saving you frustration later.
If you're short on time, even a 1-2 minute sketch can be a valuable guide.
I like to use a piece of colour chalk to do my sketch of the outdoor scene because I can rub the chalk off afterwards.

Pay Attention to Lighting and Perspective
The angle of light outdoors changes constantly, which can dramatically affect the mood of your scene. Try to pick a time of day with consistent light—early morning or late afternoon often has a softer, warmer glow. Observe how light affects the colours and shadows around you.
Also be mindful of your eye level and how objects recede into the distance. Getting perspective right helps create a sense of depth in your painting.
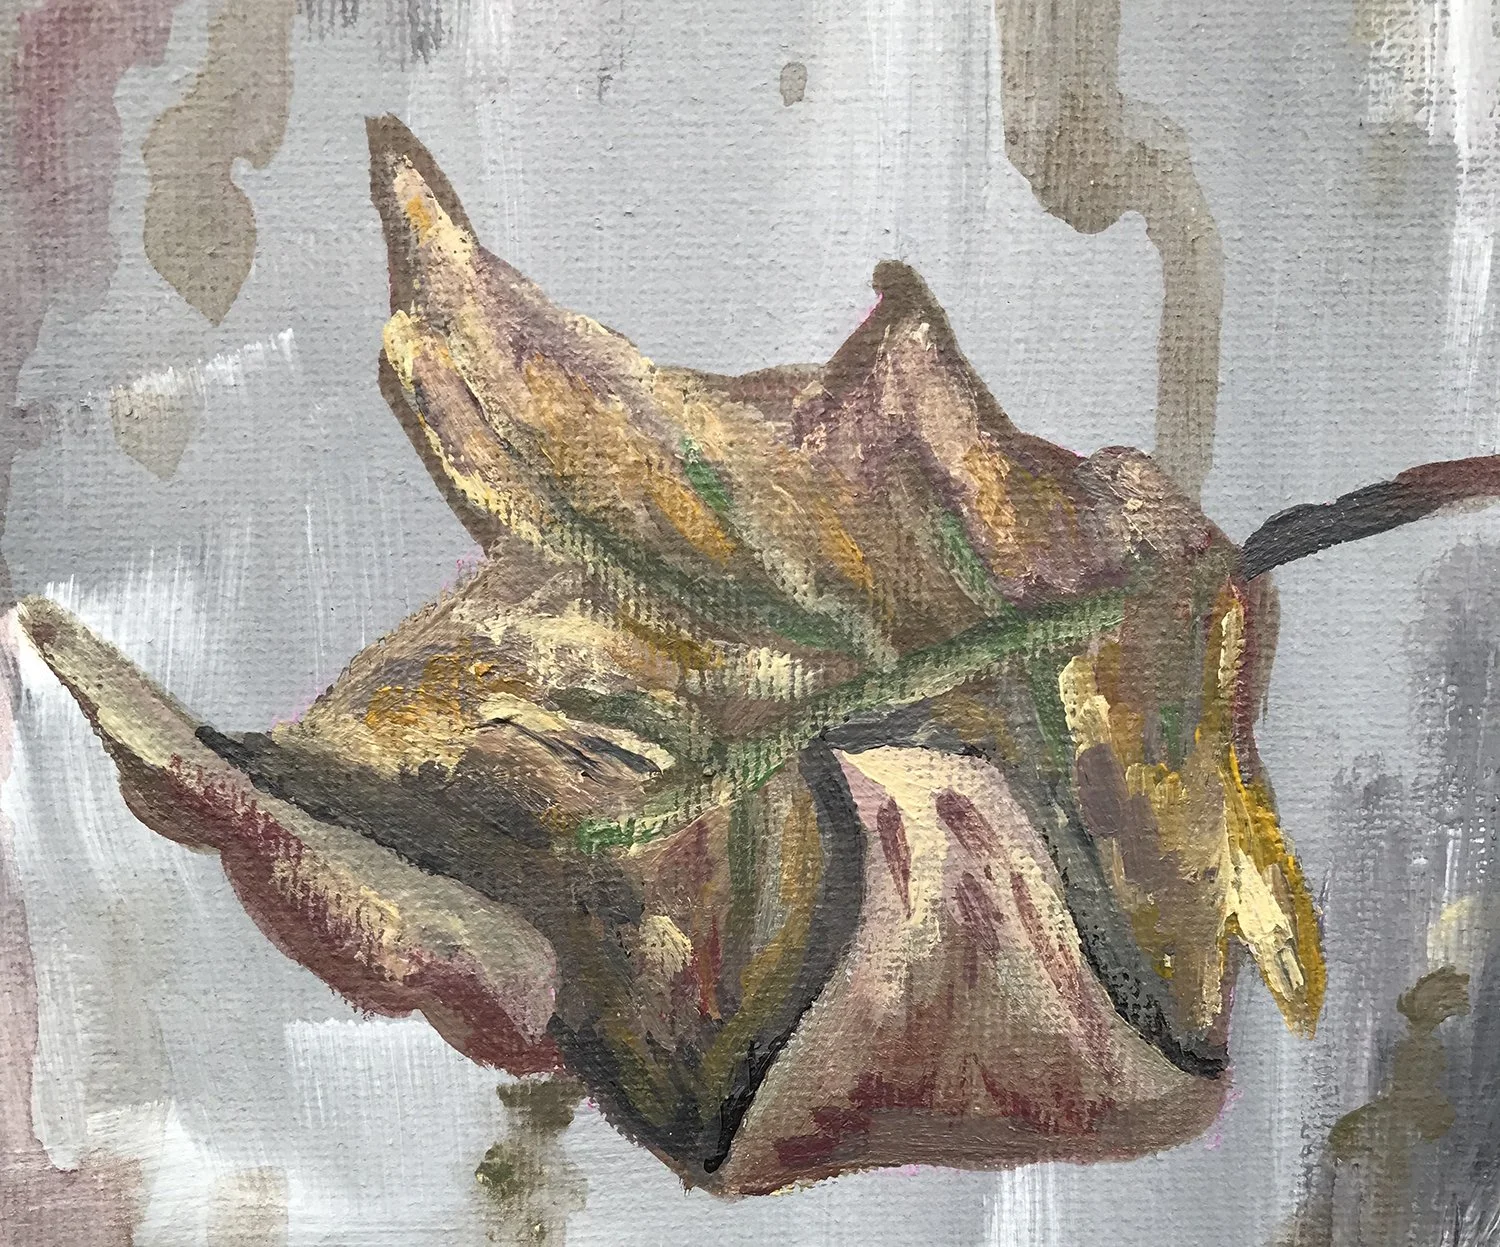
Move Closer to Capture Details
If you're painting something with interesting textures or intricate features—like a tree trunk, rock formation, or flower bed—don’t be afraid to get up and take a closer look. Bring a sketchbook and quickly note those details if you’re worried about losing your place.
You can also take close-up reference photos for later. These small details can really make your painting pop!
Pack Lightly
When painting outdoors, less is more. Choose a portable setup—just a few brushes, a small palette, a limited range of paints- like red, yellow, blue, white, and black, a water container, a cloth rag, and your canvas or sketchbook. If you are painting a water scene you will probably want to bring along a second blue for colour mixing.
Use a backpack or tote bag that’s comfortable to carry. Some artists even use a folding stool or lightweight easel, but you can easily paint from your lap or a picnic bench if needed. The goal is to simplify your setup so you can focus on painting, not logistics.
Free Acrylic Painting Resources
Click on the button below to download my free mixing green and gray resource which includes videos of how to mix the colour, green and gray, as well as PDF downloads for you to download and print to practice and refine your colour mixing skills to be able to paint better landscapes.
If you are a beginner acrylic painter wanting to improve your skills, then you'll want to download my FREE 12 page guide, which helps you improve your painting skills. I share 10 tips, as well as a suggested roadmap of tutorials to help you get better at painting. Click the button below to download your free guide now.
Be sure to subscribe to my acrylic painting YouTube channel where I share over 100 different videos of tutorials and tips to help you get better at acrylic painting click on the button below to subscribe!
Conclusion:
I hope you have enjoyed peace outside painting tips and feel more confident about taking some acrylic paint outside to your backyard to paint a scene.
It can be very relaxing to paint a scene from your garden or your favourite flower or tree. I definitely encourage you to use these outside painting tips the next time you want to paint outdoors with acrylics.
