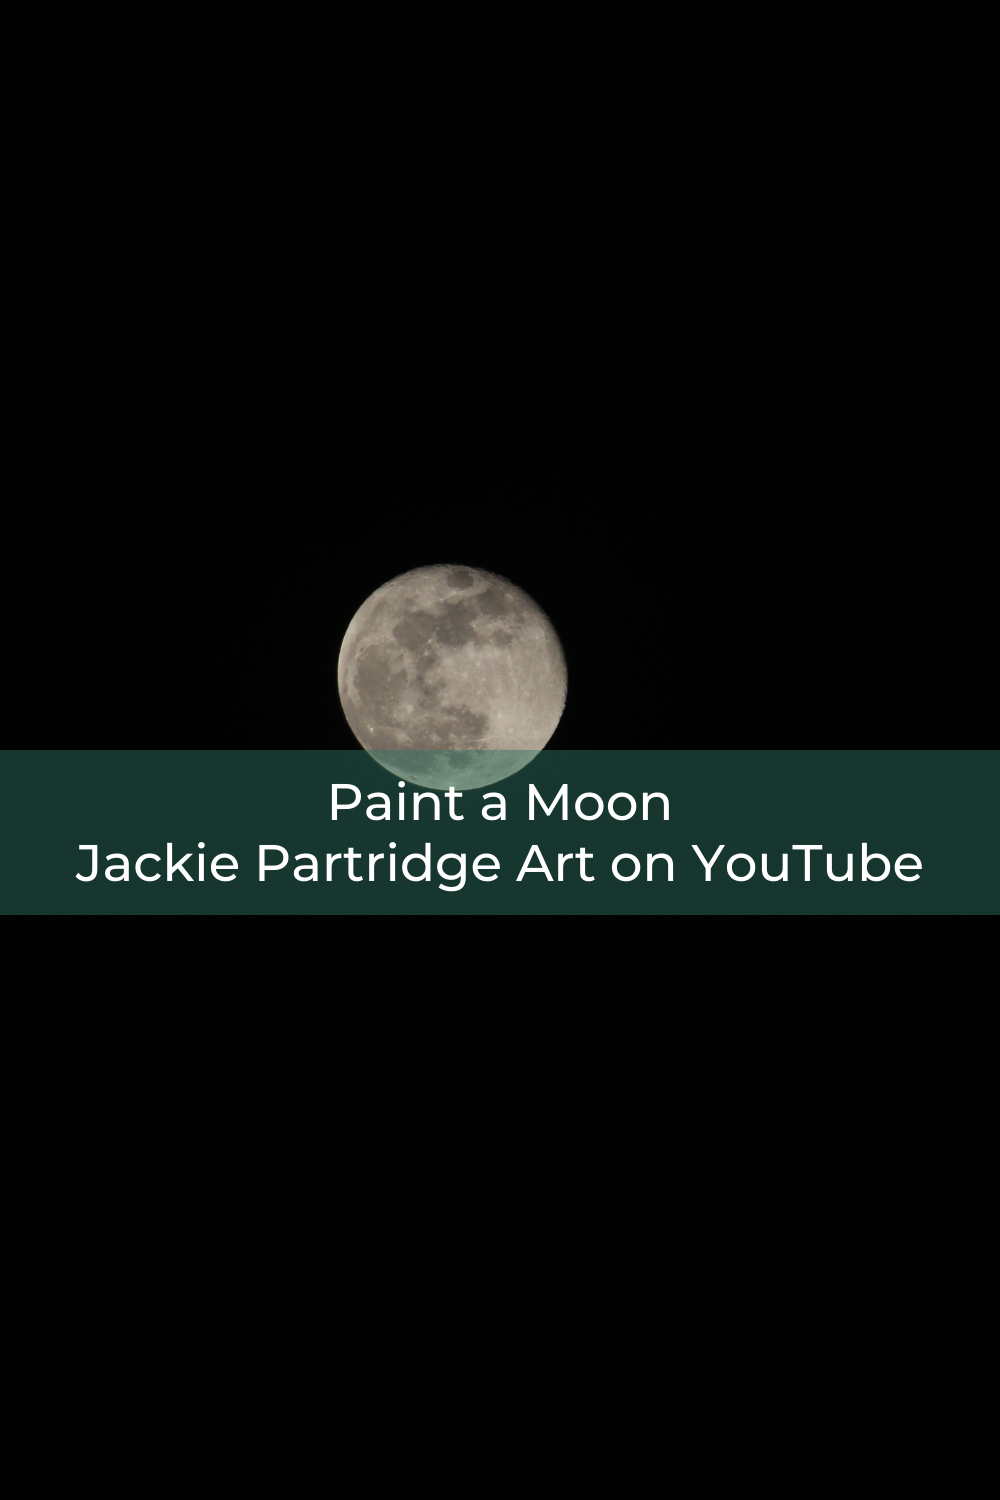
Moonlight Water Painting Step-by-Step
Moonlight water painting landscapes are one of the most calming and rewarding scenes to paint. If you’ve ever wanted to try a moon over water painting, this step-by-step approach will help you create a peaceful night scene while building confidence with blending, layering, and reflections.
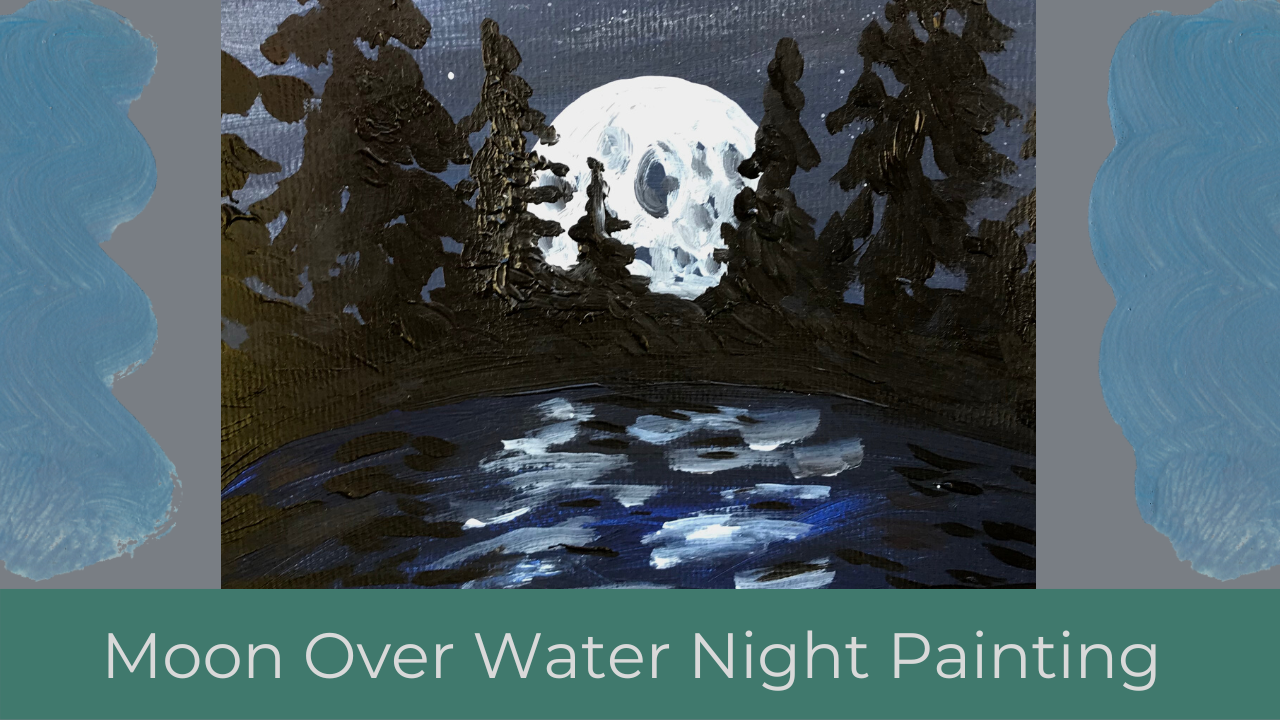
Moonlight Water Painting
Watch the tutorial
In this tutorial-style guide, you’ll learn the process behind a moonlight water painting, including how to paint moon reflection on water and create depth with simple techniques.
Supplies You’ll Need
Before you begin your moon over water painting, gather your materials:
Rag or paper towel
Number 6 round brush
Small round detail brush - I like these detail brushes!
Cup of water
Ultramarine blue and /or Cobalt blue
Mars black
Cadmium red
Titanium white
Cadmium yellow
These colours give you flexibility to mix rich dark tones, soft highlights, and subtle variations in your moonlight painting.
Painting the Sky
Start your moon over water painting by creating the night sky.
Mix mars black with cobalt blue to create a deep, rich blue-black. Using your round brush, paint the top third of your canvas with horizontal strokes. This side-to-side motion helps keep the sky smooth and even.
You can apply a couple of coats to fully cover the surface. If needed, add a small amount of water to your paint to help it glide more easily across the canvas.
Painting the Water
For the water section, mix ultramarine blue with mars black. This creates a slightly different tone than the sky, helping separate the two areas while still keeping a cohesive look.
Paint the lower portion of your canvas using the same horizontal brush strokes. Smooth, layered strokes are key in any moonlight water painting because they mimic the calm surface of water.
You can deepen certain areas by adding more ultramarine blue for subtle variation.
Adding the Horizon Line
Where the sky meets the water, add a thin strip of straight mars black. This becomes your horizon line and helps anchor your moon over water painting.
Keep it simple and slightly soft—this is where your trees will sit.
Painting Trees and Silhouettes
Using mars black and your round brush, begin adding loose, abstract trees along the horizon.
Don’t overthink the shapes. Trees naturally vary in height and width, so let your brush move freely. You can allow small gaps where the sky shows through to keep the silhouette feeling natural.
Leave space in the centre for your moon.
Painting the Moon
Using titanium white, paint a circle for your moon. You can freehand this or lightly trace a round shape if that feels easier.
To give your moonlight painting more interest, avoid making the moon a flat white circle. Instead, leave small areas slightly uneven or mix in a tiny bit of mars black to suggest craters and texture.
If you want a more realistic look, you can always reference a photo—but a simple, painterly approach works beautifully here.
How to Paint Trees Reflected on Water
This is one of the most important parts of any moon over water paintings.
Take some of the white and soft grey from your moon and begin pulling it downward into the water using horizontal strokes. Keep your brush strokes varied:
Some thicker, some thinner
Some brighter white, some softer grey
Some short, some longer
This variation helps create a natural-looking reflection. You can add a bit of water to your brush to soften the effect and blend gently into the darker water below.
Adding Tree Reflections
With your small detail brush and mars black, add reflections of your trees into the water.
These should be more blurred and abstract than the trees themselves. Use horizontal strokes again, varying the length and thickness so the reflection feels natural rather than mirrored perfectly.
You can also add small touches of darker paint around the moon reflection to suggest subtle shadows and movement in the water.
Adding Stars
To complete your moonlight water painting, add stars to the sky.
Lightly wet your brush, pick up some titanium white, and gently flick or tap it across the canvas. This creates a soft, scattered star effect.
If any paint lands on your trees, you can easily touch them up afterward.
Adding Colour Variation
For extra depth, mix a small amount of cadmium red with ultramarine blue and mars black to create a deep purple tone.
Add this into sections of the water to break up the flat colour and give your painting more richness. These subtle shifts make your moon over water painting feel more dynamic and atmospheric.
Final Touches:
Step back and look at your painting. You can:
Add more trees if you want a fuller silhouette
Adjust the brightness of the moon reflection
Deepen shadows in the water
Soften or sharpen edges as needed
Every moon over water painting will look slightly different, and that’s part of what makes this subject so enjoyable.
A Calm and Rewarding Painting to Try!
A moonlight painting like this is perfect for beginners and experienced artists alike. It allows you to practise blending, contrast, and reflection without needing complicated drawing skills.
Once you understand how to paint moon reflection on water, you can experiment with different colour palettes, compositions, and levels of detail to create your own unique moon over water paintings.
Take your time, enjoy the process, and let each brushstroke build a calm, peaceful scene.
Affiliate Link Note:
Some links mentioned to contain affiliate links meaning I earn a small commission for recommending supplies I love at no extra cost to you! Thank You!