
How to Paint with Acrylics on Canvas
If you're new to acrylic painting and curious about working with acrylics, let me help you! Acrylic paint is one of the most beginner-friendly and versatile mediums out there. Whether you're painting for fun, for school, or starting your own art journey, this guide will walk you through how to paint on canvas with acrylics, step-by-step. Learn how to paint with acrylics on canvas today!
How to Paint with Acrylics on Canvas
Let’s get you set up and painting with confidence!
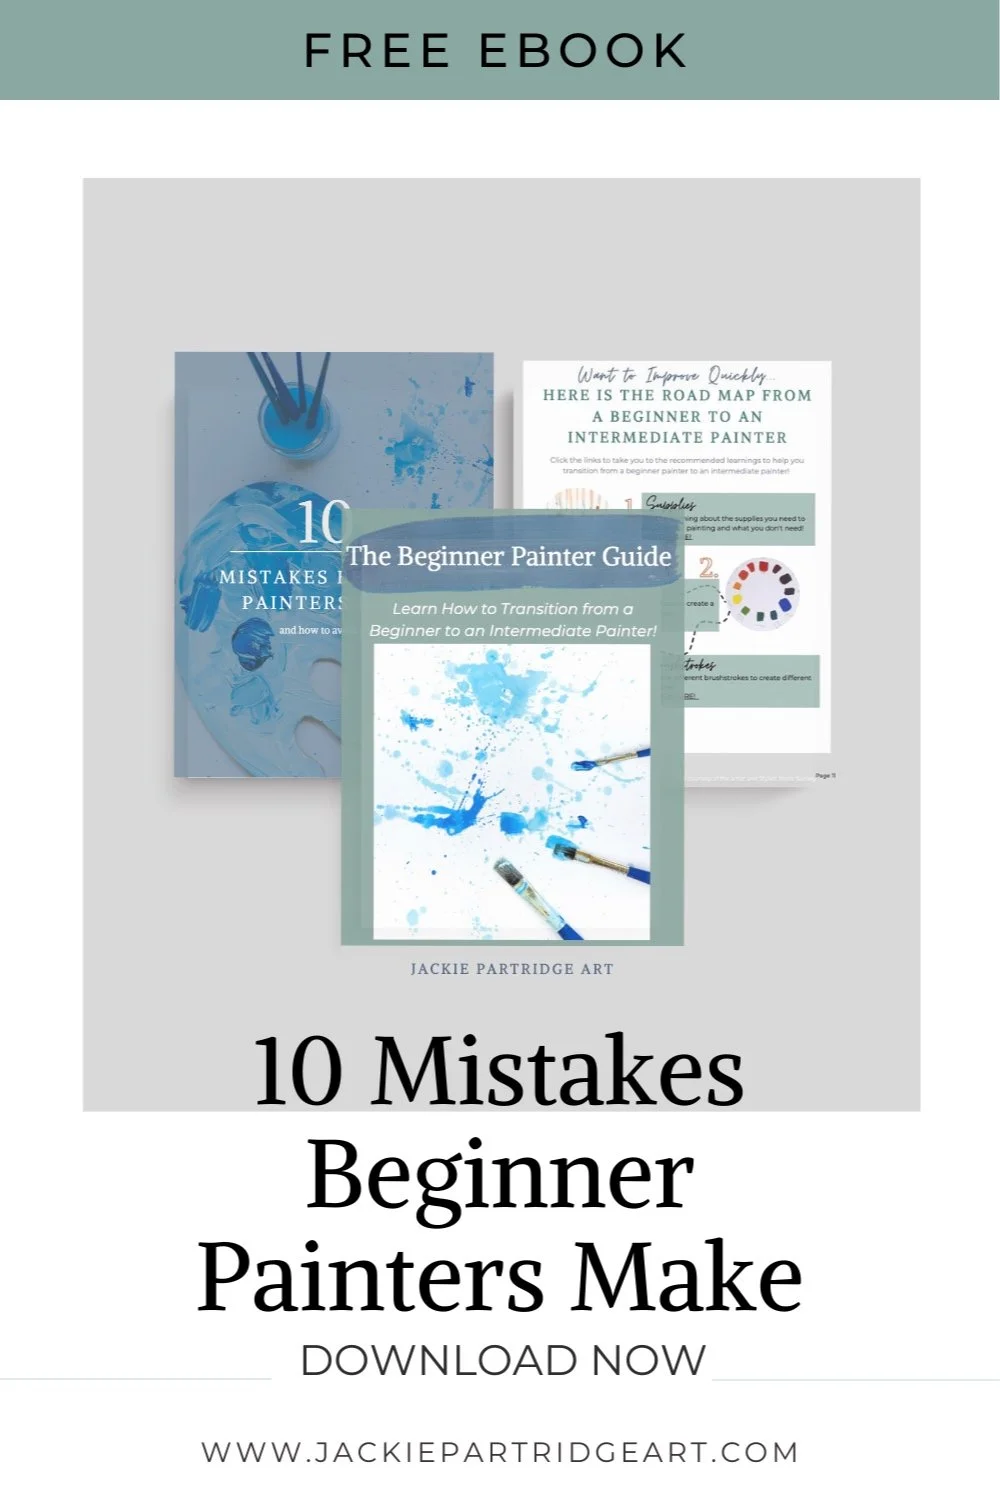
Download my FREE acrylic painting guide where I share the common mistakes beginner painters make and how you can avoid them!
How to Paint with Acrylics on Canvas
What You’ll Need
Before we dive in, gather these basic materials:
Acrylic Painting Supplies:
Acrylic paints – Student-grade is fine for beginners. Look for primary colours, black, and white to start. Learn about my favourite paints- here
Canvas – Pre-stretched and pre-primed canvases (most store-bought ones are prepped and ready) You can also paint on canvas boards or watercolour paper if you are just getting started
Brushes – A variety of flat, round, and detail brushes in different sizes - I like a flat one inch brush, a number 6 round brush and a number 2 round brush for details
Palette – Can be a plastic palette, paper plate, or even a ceramic plate
Cup of water – For rinsing brushes
Cloth rags – For blotting and wiping
Palette knife (optional) – For mixing or creating texture
Apron or old shirt – Acrylics can stain clothes once dry
Watch the video below to check out my favourite brands of acrylic paint:
Step 1: Prep Your Space & Canvas
Set up a comfortable workspace with good lighting. Cover your table with newspaper or a plastic tablecloth. If you're working near a wall, tape up a drop cloth to protect it from stray splashes.
Is your canvas ready to go?
Most store-bought canvases are already primed with gesso, which means they have a smooth, slightly textured white surface ready for paint. If your canvas feels too rough or absorbent, you can add an extra layer or two of acrylic gesso and let it dry completely before starting.
Step 2: Plan Your Painting (Optional but Helpful)
You can dive right in — or sketch out a simple idea first. Lightly use a pencil or chalk to draw your main shapes or composition. Don’t worry about details yet — this is just your guide.
Some artists also tone their canvas with a thin layer of diluted colour (like a light beige or blue) to avoid working on stark white. This creates a mood and helps you judge contrast better.
If you are completely NEW to acrylic painting - then try a tutorial first so you feel confident to plan your own painting. Click here to check out my YouTube acrylic painting channel!
Step 3: Start Painting — Light to Dark, Thin to Thick
Now for the fun part! Let’s break down the actual painting process.
Layer 1: Block in Colours
Start by blocking in the largest shapes and base colours using watered-down acrylics. Use broad strokes with a larger brush.
Tip: Acrylic paint dries fast, so if you're blending, so work quickly
Layer 2: Add Depth and Details
Once your first layer is dry (just a few minutes), add additional layers to:
Build colour intensity
Create shadows and highlights
Add texture or detail
Work from background to foreground. For example, paint the sky before you paint the trees.
Layer 3: Highlights, Textures & Touch-Ups
Use smaller brushes or a palette knife to add fine details, bright highlights, or thick textured areas (called impasto). Acrylics are great for layering, so you can build as much as you want.

Step 4: Clean as You Go
Keep your brushes wet while working to avoid paint drying in the bristles. Rinse often and reshape them before letting them dry flat or bristle-side up in a jar.
Step 5: Let It Dry Completely
Acrylic paint dries to the touch in minutes, but thicker areas may take longer. Let your painting dry flat in a dust-free area for a few hours (or overnight) before you move or store it.
Tips for Acrylic Painting Beginners
Don’t overthink it. Your first few paintings are for learning — not perfection.
Experiment with texture. Try using sponges, cotton swabs, palette knives, or even your fingers.
Keep a “tester paper.” Use it to try colour mixes or brushstrokes before committing to your canvas. You can check out my FREE mixing green and grey resource by clicking here. Or check out my colour mixing bundle and save 30% by clicking here - filled with tutorials and practice pages to help you!
Work in layers. Mistakes? No problem — let them dry and paint over them!
Store leftover paint in airtight containers (like yogurt cups) to reuse the next day. Or you can purchase a palette that has a resealable lid.
Conclusion:
Learning how to paint on canvas with acrylics is about exploration, expression, and fun.
Remember, if you make a mistake, you can always paint over it and try again.
When you’re finished, step back and admire what you created — it’s a reflection of your unique voice. Keep painting, You will continue to improve with each painting that you make!
I have a YouTube acrylic painting channel with over 100 painting tutorials that will help you as a beginner acrylic painter. Make sure you subscribe to my channel so that you don't miss any new tutorials. Click the button below.
Make sure to download my FREE 12 page acrylic painting guide that provides you with 10 tips for how to improve your acrylic painting. I also give you a guided roadmap of acrylic painting tutorials to take your painting skills to the next level.! Click on the button below to download this FREE resource.
